Showing posts with label sewing. Show all posts

Sunday, May 13, 2012

For the Love of Sewing...and other things


Sewing for a living is not something I thought I could ever do.  When I started making a few baby things and then the cloth diapering accessories I sell now, it was kind of a casual, "oh I'll list a few things in my shop and see what happens" kind of a thing.  Then people actually started buying the things I made, and that gave me inspiration to make some more things!


At the first of the year, I decided to try and define my shop and what I was about to see if I could actually make this a business that could help support our family.  You see several things took place to prompt this decision.  My wonderful husband worked at a job he really didn't love for over 20 years; faithfully so that I could stay home with our four boys and raise them up and homeschool them.  A few years ago, his job moved out of state, and we chose not to move with the job, as our family was here and our children were on the brink of grown, and to top it off and seal the decision, we found out we were going to be grandparents.  We chose family over job and have never regretted that decision.  Jobs in his field in our area are hard to come by in good times, and with the economic crises almost non existent.   
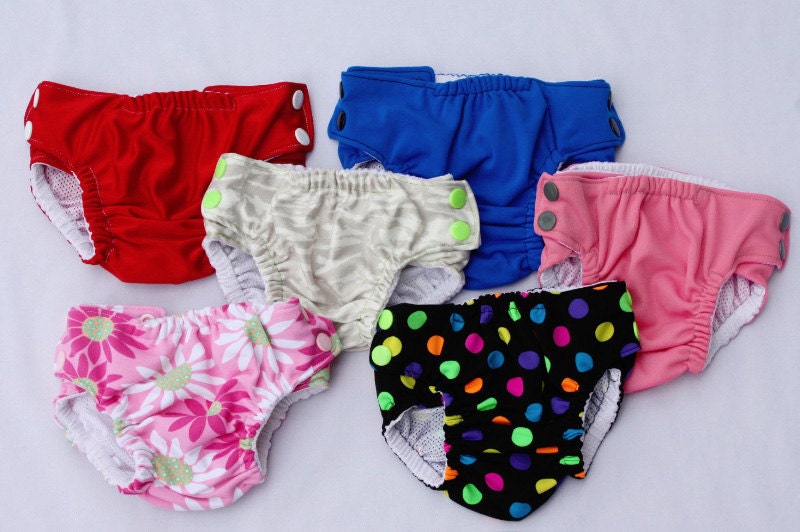
He has always been blessed with some kind of work however, and we have muddled through.  Anyway, back to my story.... At the first of the year, he decided that he really would like to go back to school.  I felt that after all those years of working for us, and now that our last baby was almost out of high school and I was almost officially done being a home school mom, he deserved to pursue a carees he would enjoy.  So back to school he has gone, and I have been working to improve my shop and make it the best possible place to find unique, hand made cloth diapering accessories.


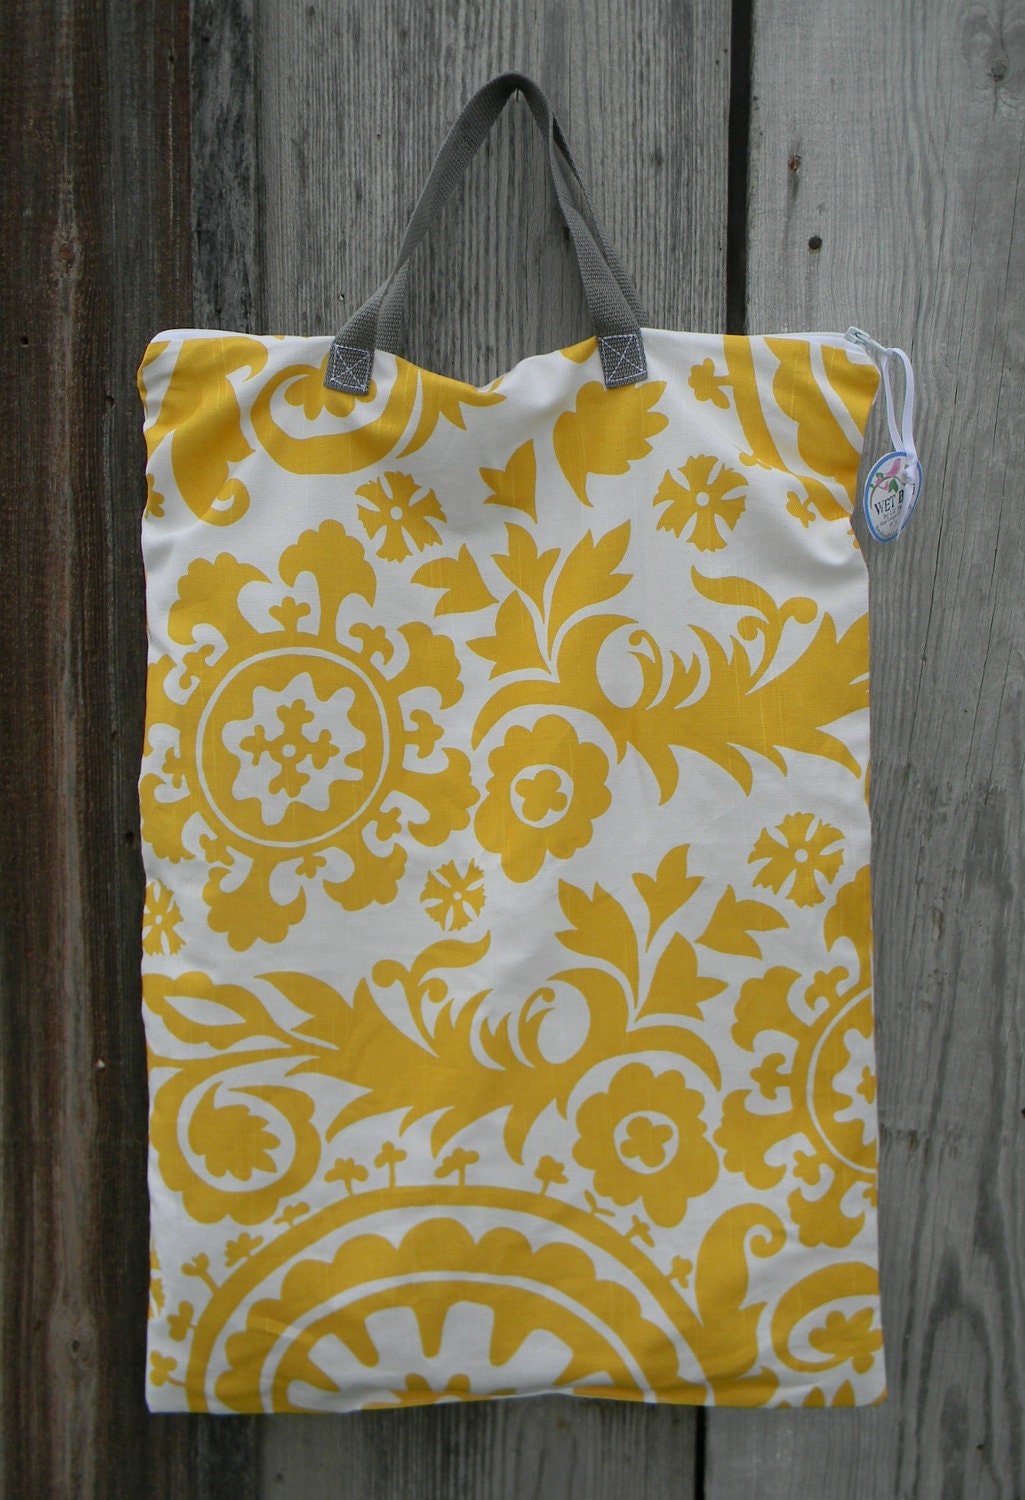
I realized one day as I sat down at my sewing machine, at 11:00 at night to hem a pair of shorts for my now graduated youngest son who was leaving the next day on a trip, that I have come to love sitting down at my machine to create something new for someone.  Every time I get a custom order, I feel some of that excitement from the person ordering it; of their anticipation for their new arrival, or their pleasure at looking forward to having a unique and beautiful bag to toss those dirty diapers into.  Crazy isn't it, that having something beautiful even if it is just to toss dirty diapers into, would be such fun, but I think all humans, especially moms, have an inherent appreciation for beauty.  So on I sew, and I am happy that I can do it for the right reasons; for family, and choosing to stay together and strengthen family relationships.   I am very thankful and blessed by all my wonderful customers who allow me to sew for them, and repeatedly come and visit my shop.  I so appreciate all of you.  I am also so thankful for my family and my ever so patient husband who puts up with me taking over the whole house at times to get my projects done!


Here we all are

Thursday, March 15, 2012

Sewing Diapers

The other day I started chatting with some moms about sewing, and then we kind of decided to have an impromptu sewing class.  I have a diaper AIO that I sew and said I would show them how.  So we all got together the other night and had a nice time talking sewing, sewing my diaper, and visiting.  There is quite a large cloth community in our area, so t was really nice to get to know some of the moms.  Also I love to sew and sharing that was fun.

Here is a picture of an experimental cover on my favorite model.  Not great pictures but she is a moving target.  I just downloaded a new app called fast camera.  It takes about 80 shots in a few seconds.  Tomorrow I am going to experiment and see if I can capture a good smile on my moving target!


I digress though.  The cover worked pretty good, I think I stretched the FOE a little too much in the areas where it didn't need to be stretched.  So take my advice and ease it around those areas where you are not looking for a lot of elasticity.  This cover by the way was a cotton print on the outside and PUL on the inside, edged with the foe and I used snaps on the  front.

Thanks for sewing with me!

Friday, October 21, 2011

DIY Vintage Owl Pennant Banner


I was inspired to make this fun little project for a friend, her baby shower was to be at our house, and I knew she liked these and had her eye on them on Etsy; so I got out my fabric stash in the browns, yellows and oranges that I thought would fit her theme and got to work.

The fabrics I chose
To make banner shown, you will need:
*16-7 1/2" 9" x 9" triangles in coordinating fabrics of your choice
*1- 2 1/2" by length of your banner strip of fabric (I used 5'3")
*1/4 yard heat and bond Ultrahold Iron-On adhesive
*Fabric scraps for applique
*Coordinating thread
*2 yds - cotton bias tape or ribbon for ties (optional)


First I cut out all the triangle pennant flags. The short top side is 7 1/2", each long side is 9".  I used eight flags in this banner, but you can make yours as long or short as you like. I made a paper pattern and also used my ruler and rolling mat cutter.
cutting out triangles
I doubled the fabric for a couple reasons. We live in Kansas where it's windy! If you ever use these outside, they hang better with a little more substance to them, not thrown about by the wind so easily.  Also, since I had decided to put the baby's name on the banner, I though if I doubled it, then if she wanted to use it for something else, it could be flipped around and, ta da...plain banner on the other side.

I also cut out the fabric strip that I used to attach all the flags. It is 2 1/2" wide by approximately 5'3" long. I used two strips and sewed them together. The length you choose depends entirely on how many flags, and how far apart you want them spaced. I spaced mine about 1" apart. Also at each end of the banner I attached about a 1 yd. piece of cotton bias tape for an extra tie.

owls from conception to completion
Next I had to decide what to applique. My friend likes owls, so I put an owl on each end of the banner. I googled owl appliques, and sketched a few on paper that I liked.
I chose the little round guy you see in the pictures. To make him you will need 4 different fabrics. Body, Belly, Beak and Eyes. I will tell you right now, I am not an applique expert, and I totally used the heat and bond NOT according to directions. I cut out my pattern, cut each piece out of fabric, and then lightly tacked the fabric to the heat and bond. Then I cut out each piece of the applique and ironed them down a little better to the heat and bond. Then peeled off the backing paper and placed all the elements of my design down on the ironing board. When everything was in place on the flag, I ironed them all together. My owls were done, now on to the letters...
sewing down the letters


I free hand cut SURI out of scrap fabric. I cut it double, because I didn't want to bond it down, and I thought it would sew down better being doubled. You could also heat and bond the individual letters down, which would make it easier. After I had all the letters in place, I used my walking free style foot to top stitch the designs in. On the owl I made eyes, and outlined everything with my own style. On the letters, I just sewed back and forth to make several random lines to make them subtly stand out from the back ground.
Sewing the two flag pieces together

OK, now my applique owl and my letters are all sewn.  I quick iron over them to flatten them out and I backed each flag with a coordinating fabric.  I sewed down the two long sides of each triangle, no need to sew across the top, as that will be sewn with the fabric strip when assembling.  When all the flags were sewn together, I then layed them out in the order I wanted.  I left a blank flag between owls and letters.  Then I pinned the right side of the strip to the right sides of the flags, spacing evenly. 
pinning flags to fabric strip
I used a 1/4" seam and sewed down the strip.  Almost done....then I ironed the fabric strip up, folded it in half and ironed again.  the back side was the salvage edge, so I didn't fold it under, but if you had a raw edge you could fold it under if you wanted to.  After that was all in place I top stitched, making sure to include the back fabric in as I sewed.  On the ends I added a piece of cotton bias tape, so I tucked that under and sewed it down as I top stitched. 
Sandwiched bias tape into folded end of banner


One more pass with the iron, and I was finished!  Let me know if you try one, and what design you use!