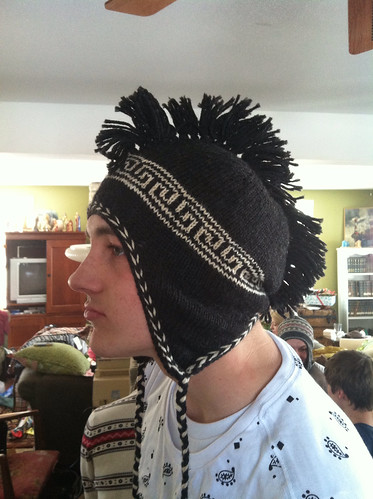
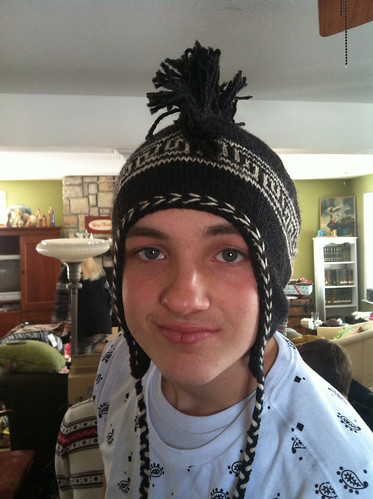
On this Oh Snappi hat pattern, or any basic stockinette hat pattern, begin chart where you want your pattern to start. It is a simple 2 color pattern worked in repeats of 12 stitches. The pattern is 11 rows in length. To add the mohawk, I blocked the hat, then layed it flat to find the center. I started just above the colorwork pattern and used 3 strands of yarn cut about 6 inches long. I looped them through the center stitch, making sure to get both legs of the stitch. You add them just like latching a rug. Pull center of yarn strips through your knit stitch with a crochet hook, then thread the ends through the loop and pull till yarn is secure. Do this all the way up the hat until you get to the top of the pattern in the back of the hat (see picture). After all your "Mohawk" strings have been looped on, simply lay it out flat again and give them a hair cut to desired length and to make them even. I did not use anything to stiffen the mohawk, and it seems to be staying up and holding up well with lots of wear.
 |
You are welcome to share this, but you may not sell this chart, it is available for anyone to use free of charge.
Feel free to comment with any questions, or leave a picture of your own project.
|
No comments:
Post a Comment